Vintage Chest of Drawers: Complete Guide to DIY Restyling
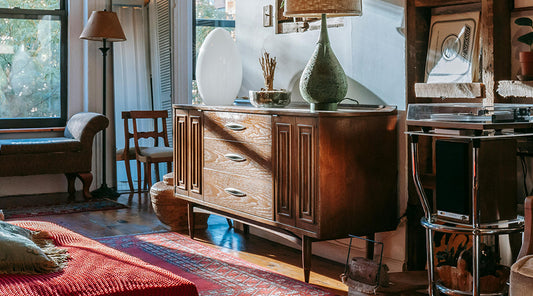
If you have a vintage chest of drawers and want to give it a new lease of life, you've come to the right place. With a little creativity and a few simple tools, you can transform a vintage chest of drawers into a unique and charming piece. Repurposing a vintage chest of drawers not only brings the piece back to life, but also adds a touch of personality to your home.
All the steps for the restyling of a vintage chest of drawers
Let's discover the steps needed to give life to the restyling of a vintage chest of drawers:
1. Preparation and Cleaning of the Chest of Drawers
Before you begin, make sure your vintage chest of drawers is clean and in good structural condition. Remove all drawers and handles. Use a mild detergent to remove dust and dirt. If there are any signs of wear or scratches, lightly sand the surfaces with fine-grit sandpaper. This step will also help the paint adhere better.
2. Make any necessary repairs
Check to see if there are any parts of the vintage chest of drawers that need repair. Reinforce any loose joints with wood glue and replace any missing screws. If there are any cracks or holes, fill them with wood filler and let dry completely before sanding again to a smooth surface.
3. First choose the Color and Style you want to create
Choose the colors you want to use for the restyling of the vintage chest of drawers. Pastel colors, distressed white and natural tones are perfect for a vintage look. You can also opt for a combination of colors for a more dynamic effect. Think about the style you want to achieve: shabby chic, industrial, bohemian or a mix of these.
4. Paint your dresser a pastel color
Apply a coat of wood primer to ensure even paint coverage. Once dry, start painting the vintage chest of drawers with your chosen color, for a vintage but modern look we recommend using pastel colors.
Use different sized brushes to reach all the corners and details. For a more lived-in look, you can add a second coat of a different color and lightly sand some areas to create an aged effect.
5. Customize the decorations and details
Further personalize your vintage chest of drawers with decorative details. You can use stencils to add floral or geometric patterns, or apply vintage wallpaper to the drawer fronts for a unique touch. Decoupage techniques are ideal for creating intricate and detailed designs.
6. Replace damaged handles
Drawer handles can make a big difference in the final look of your vintage dresser. Replace the old handles with new ones that match the new style of the furniture. Brass, ceramic or glass handles are perfect for a vintage look. If you prefer, you can also repaint the original handles for a touch of continuity.
Conclusion
Remodeling a vintage dresser is a rewarding DIY project that transforms a dated piece of furniture into a centerpiece in your home. With a little patience and creativity, you can breathe new life into a vintage dresser and create a unique piece of furniture that reflects your personal style. At Dispensa Vintage, we are passionate about all things retro and are excited to share ideas and inspiration to help you transform your home. Happy remodeling your vintage dresser!


